- Licensing
- Installation
- Quick Start
- About Quick Start
- Creating and Naming a New Project
- Creating and Naming New Modules
- Setting up the Start Module
- Returning to the Call Flow View and Checking Relations
- Setting up a List Module
- Recording and Using a Library Vox
- Setting up a Hangup Module
- Setting up the Global Module
- Setting Up the Global Yes/No Module
- Tutorial
- Section One:Basic Functions
- Creating a New Project
- Naming Your Project
- The Call Flow View
- Adding Modules to the Call Flow View
- Naming Modules
- Opening a Module
- The Start Module
- Recording a Quick Vox
- Editing Properties from the Properties Table
- Setting up a Goto
- Returning to the Call Flow View
- Double Checking Gotos Using Relations
- Using the Transfer Module
- Recording a Library Vox
- Using a Library Vox
- Using the Hangup Module
- Section One Review
- Creating and Naming a New Project
- Opening an Existing Project
- The List Module
- About Grammar
- Adding Concepts and Phrases to the Grammar List
- Notes on Scripts and Grammars
- Adding Phrases to an Existing Concept
- Setting up a Confirmation
- Setting up a Response
- The Phrase Library and the Backus-Naur Form
- The Multilevel Module
- The Global Module
- No Input, No Match & Error Handling
- The Global Yes/No Module
- Section Two Review
- Creating and Naming New Modules
- Section One:Basic Functions
- Help
- VB Interface
- Advanced
- Call Handler
- FAQ's
Naming Your Project
The first step when you create a new Project should be creating a project name. Doing so allows you to save your project and open it later. If you do not name your project it can be difficult to find it at a later time. To name your project:
- Go to the "Project Tab" in the "Properties Window".
-
Double click in the "Value" column beside "Project Name." This will open up a
box where you can type in the name of the project. For the purposes of this tutorial, type in "
(Your name)'s Tutorial" and hit enter.
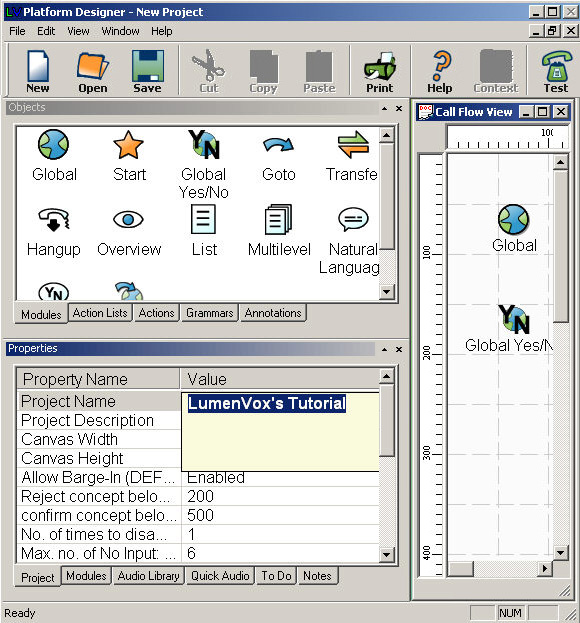
- Double Click in the "Value" column beside "Project". This will open up a box where you can type in a description of the project. Type in "Section One." Then hit enter.
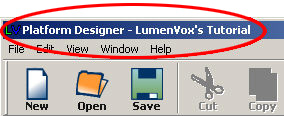
The application will now have the title of "Platform - (Your Name)'s Tutorial" in the upper
left-hand corner of the screen.
 Save your changes by clicking on File > Save.