- Licensing
- Installation
- Quick Start
- About Quick Start
- Creating and Naming a New Project
- Creating and Naming New Modules
- Setting up the Start Module
- Returning to the Call Flow View and Checking Relations
- Setting up a List Module
- Recording and Using a Library Vox
- Setting up a Hangup Module
- Setting up the Global Module
- Setting Up the Global Yes/No Module
- Tutorial
- Section One:Basic Functions
- Creating a New Project
- Naming Your Project
- The Call Flow View
- Adding Modules to the Call Flow View
- Naming Modules
- Opening a Module
- The Start Module
- Recording a Quick Vox
- Editing Properties from the Properties Table
- Setting up a Goto
- Returning to the Call Flow View
- Double Checking Gotos Using Relations
- Using the Transfer Module
- Recording a Library Vox
- Using a Library Vox
- Using the Hangup Module
- Section One Review
- Creating and Naming a New Project
- Opening an Existing Project
- The List Module
- About Grammar
- Adding Concepts and Phrases to the Grammar List
- Notes on Scripts and Grammars
- Adding Phrases to an Existing Concept
- Setting up a Confirmation
- Setting up a Response
- The Phrase Library and the Backus-Naur Form
- The Multilevel Module
- The Global Module
- No Input, No Match & Error Handling
- The Global Yes/No Module
- Section Two Review
- Creating and Naming New Modules
- Section One:Basic Functions
- Help
- VB Interface
- Advanced
- Call Handler
- FAQ's
Naming Modules
Notice that when you first drag a Module into the Call Flow View from the Module Menu, it is automatically named "New (Type of Module it is)*". To say organized, let's name each module, starting with the List Module.
-
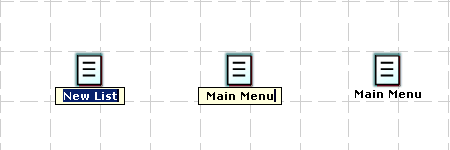
Double click on the words "New List" on the List module.
NOTE: Make sure you only click on the words, and not on the picture! If you accidentally click on the picture and go into the Module View of the icon, you can go back by hitting Control + Tab to return to the Call Flow View. This will leave the module open, but behind the Call Flow View. You can also close the module by hitting the small X in the upper right hand corner of the module. Make sure you close the module and not the whole program.
- A yellow dialog box should pop up with the words “New List” highlighted.
- Type Main Menu. This will replace "New List"
-
Press Enter to close the yellow dialog box.

- Follow the same steps to rename the Transfer Module and Hangup Module.
- Name the Transfer Module "Transfer to Store Clerk".
-
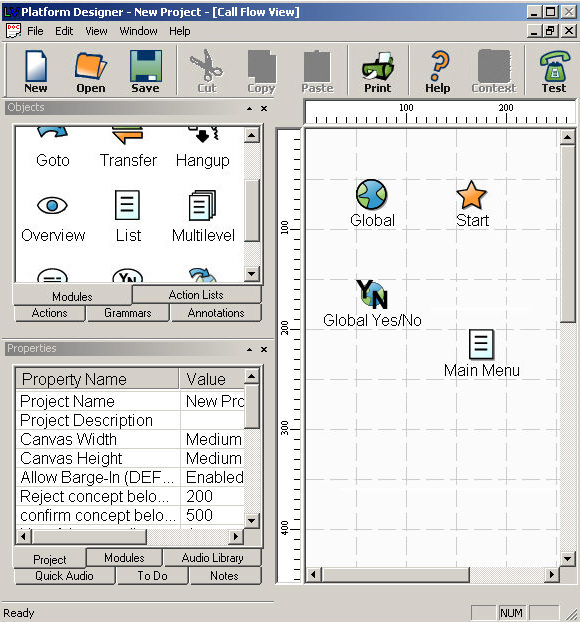
Name the hangup module "goodbye". Now your screen should look like this:

- Save your changes by clicking on File > Save